So, your electric motor has decided to take a break, and you don’t know how to fix an electric motor. Annoying, right? Before you automatically sigh and start Googling for replacements, let’s talk about whether it’s even worth a shot at fixing it yourself. The honest answer is: sometimes. Many electric motor issues are surprisingly simple to diagnose and resolve without needing a specialized technician or a whole new unit. This guide will walk you through some common problems and how to approach them. We’ll focus on what you can realistically tackle with some basic tools and a bit of patience.
Understanding Your Motor: The Basics
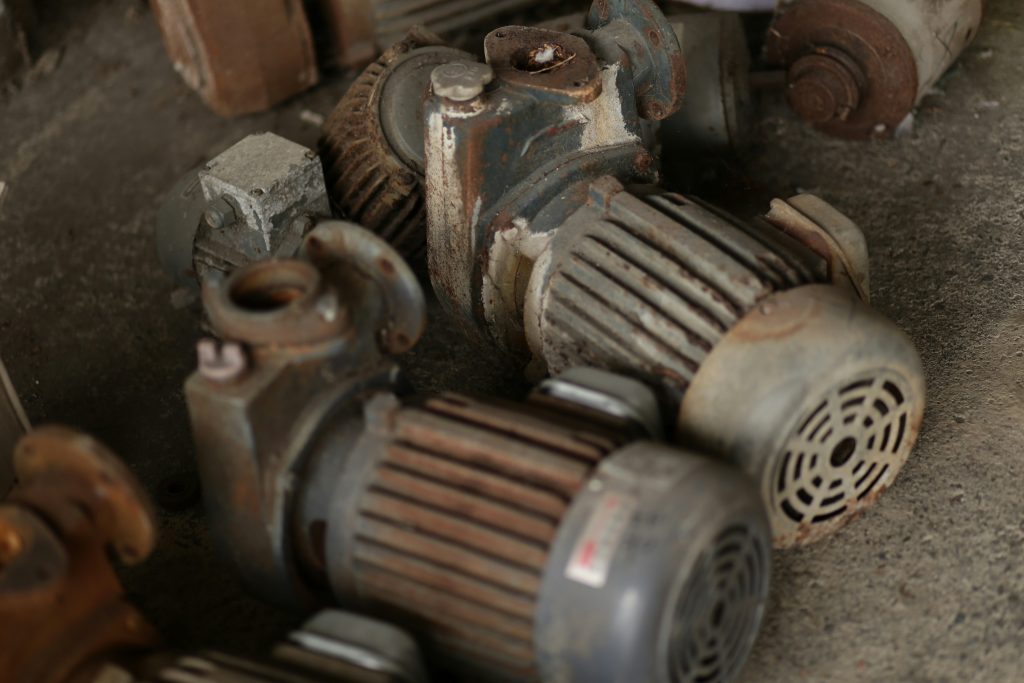
Before we dive into fixing things, it’s helpful to have a general idea of what you’re dealing with. Most electric motors you’ll encounter in everyday life (think washing machines, fans, pumps, power tools) are AC (alternating current) motors. They work by using electromagnetism to create rotation. There are different types, but for DIY purposes, we’re mostly concerned with a few key components.
- The Rotor: This is the spinning part inside the motor.
- The Stator: This is the stationary part that generates the magnetic field.
- Bearings: These allow the rotor to spin smoothly. They’re often the culprits behind noise and friction.
- Wiring and Connections: This is where power gets to the motor. Loose or damaged wires are a common issue.
- Capacitor (for some motors): This helps start the motor or improve its performance.
It’s important to note that not all motors are designed for easy repair. Some are sealed units, and attempting to open them might be a lost cause. Always check if your motor has visible screws or panels that suggest it’s meant to be accessed.
If you’re looking to repair an electric motor, understanding the tools and storage solutions available can significantly enhance your efficiency. For instance, having the right organizational system can help you keep your tools in order, making the repair process smoother. A related article that discusses the durability and functionality of different storage options is available to read on our website as well. It compares Packout-style systems with traditional job boxes, providing insights that can be beneficial for anyone involved in maintenance and repair tasks.
Safety First: Always!
This can’t be stressed enough. We’re dealing with electricity, and even when the motor isn’t plugged in, there can be stored energy (especially in capacitors).
- Unplug Everything: Seriously, from the wall, from the power source, from anywhere it’s connected. Double-check. Triple-check.
- Discharge Capacitors: If your motor has a capacitor, it needs to be safely discharged before you touch any wiring. A common way to do this is by using a well-insulated screwdriver with a metal shaft to bridge the two terminals of the capacitor. Hold the handle, not the metal. If you’re unsure about this, skip it and consult a professional.
- Wear Protective Gear: Safety glasses are non-negotiable to protect your eyes from debris or unexpected movements. Gloves can also be helpful.
- Work in a Dry Area: Water and electricity are a terrible combination.
Step 1: The Initial Assessment and Diagnosis
This is where you become a detective. What exactly is the motor doing (or not doing)?
What’s the Symptom?
- Motor won’t start at all: Absolutely no sound or movement.
- Motor hums but doesn’t spin: You hear a buzzing sound, but the rotor is stationary.
- Motor starts but then stops: It runs for a bit and then gives up.
- Motor is making unusual noises: Grinding, squealing, rattling.
- Motor is overheating: It gets uncomfortably hot to the touch.
- Motor smells burnt: A distinct acrid smell.
Visual Inspection
Before touching anything, get a good look at the motor.
- Any obvious damage? Cracks, broken parts, melted plastic.
- Is it clean? Dust and debris can cause a surprising number of problems.
- Are wires frayed or loose? Check all connections leading to and from the motor.
The “Just Plugged In?” Check
Sometimes the simplest answer is the right one.
- Is the appliance plugged in? Obvious, I know, but it happens.
- Is there power to the outlet? Test the outlet with another device.
- Are there any safety switches or breakers tripped? Check your home’s circuit breaker box or any appliance-specific safety cutoff switches.
Step 2: Addressing Common Motor Problems
Once you have a clue about what’s wrong, you can start looking at potential fixes.
Problem A: Motor Hums But Doesn’t Spin
This is a classic sign that the motor is receiving power but something is preventing it from starting its rotation.
The Capacitor is Likely the Culprit
For many AC motors, a capacitor is necessary to give the rotor the initial “kick” to start spinning. If this capacitor fails, the motor will hum but won’t turn.
- Locate the Capacitor: Capacitors are usually small, cylindrical components, often found attached to the motor housing or within the appliance’s control panel. They’ll have two terminals.
- Visual Inspection of the Capacitor: Look for any bulges, leaks, or signs of burning on the capacitor itself. If you see any of these, it’s almost certainly bad.
- Testing a Capacitor (Requires a Multimeter): This is where a multimeter comes in handy.
- Ensure the capacitor is discharged! (See safety section).
- Set your multimeter to measure capacitance (often indicated by a “µF” symbol).
- Touch the multimeter probes to the capacitor’s terminals.
- Compare the reading to the value printed on the capacitor itself (usually in microfarads, µF). If the reading is significantly lower than the rated value, or if the multimeter shows no reading (or an “OL” – open loop), the capacitor is likely bad.
- Replacing a Capacitor:
- SAFETY FIRST: Unplug the appliance and discharge the capacitor.
- Note the wiring: Take a picture or make a diagram of how the wires are connected. Capacitors have polarity, so you must connect the new one correctly.
- Remove the old capacitor: It’s usually held in place by a clip or screws.
- Install the new capacitor: Make sure it’s the exact same rating (µF and voltage) as the old one. Connect the wires precisely as they were.
- Test: Reassemble anything you removed, plug it in, and see if the motor starts.
Obstruction
Less common for a “humming only” scenario, but still possible.
- Check for physical obstructions: Something might be preventing the rotor from turning.
- With the power absolutely off, try to gently turn the motor shaft by hand. Does it move freely? If it’s stiff or completely stuck, there’s an obstruction.
- Carefully inspect the area around the rotor and stator for anything that might be wedged in there. This could be wire fragments, plastic bits, or even accumulated gunk.
- If you find an obstruction, remove it carefully with needle-nose pliers or tweezers.
Problem B: Motor Makes Unusual Noises
Grinding, squealing, rattling – these usually point to issues with the moving parts.
Failing Bearings
This is probably the most common cause of noisy electric motors. Bearings allow the rotor to spin smoothly. When they wear out, they create friction and noise.
- Diagnosing Bad Bearings:
- Listen closely: Try to pinpoint where the noise is coming from. Is it constant or intermittent? Does it change with the motor’s speed?
- Feel for vibration: With the power off, gently spin the motor shaft by hand. Does it feel rough? Can you feel any play or wobble in the shaft?
- Look for lubricant leaks: Sometimes, old grease will ooze out of bearings when they start to fail.
- Replacing Bearings (Can be Tricky):
- Accessing the Bearings: This is the most challenging part. You’ll need to disassemble the motor to get to the bearings. This often involves removing end bells (the caps on either side of the motor).
- Identifying the Bearing Type: You’ll need to know the exact size and type of bearing. Look for markings on the bearing itself.
- Removing the Old Bearings: This might require a bearing puller. Sometimes, gentle tapping with a rubber mallet can help, but be very careful not to damage the motor housing.
- Installing New Bearings: Press the new bearings into place. It’s crucial that they are seated perfectly straight. A bearing press or even a vise can be used, but again, be careful.
- Lubrication: After installation, you may need to lubricate the bearings according to the manufacturer’s recommendations. Use the correct type and amount of lubricant.
- Reassembly: Carefully reassemble the motor.
Loose Parts
Sometimes, motor noise is as simple as something being loose.
- Check mounting bolts: Ensure the motor is securely bolted down.
- Inspect fan blades (if applicable): If your motor has a cooling fan, make sure the blades are intact and securely attached to the shaft.
Problem C: Motor Overheats or Smells Burnt
These are often signs of electrical issues or severe mechanical problems.
Overload or High Friction
The motor is working too hard, generating excessive heat.
- Is the motor the right size for the job? If you’re using a motor on an application it wasn’t designed for (e.g., trying to power something too heavy), it will overheat.
- Excessive friction: As mentioned with bearings, friction generates heat. If bearings are bad, the motor will get hot.
- Obstructions: Anything slowing the motor down will cause it to work harder and get hotter.
Worn Windings (Coils)
This is a more serious issue and often means the motor is beyond simple DIY repair.
- Symptoms: A strong burnt smell is the most obvious indicator. You might also see discoloration on the windings.
- Cause: Overheating, age, or electrical shorts within the windings.
- Repair: Rewinding a motor is a specialized job. For most common appliance motors, it’s usually more cost-effective to replace the entire motor.
Dirty Motor
A motor needs to stay cool to function efficiently.
- Clean the motor: Dust and debris can clog ventilation slots, preventing proper cooling.
- Power off and unplug!
- Use compressed air to blow out all dust and debris from the motor housing, especially around cooling fins and vents. A soft brush can also help dislodge stubborn dirt.
- Ensure all ventilation openings are clear.
Problem D: Motor Won’t Start At All
This is the most frustrating and can have a few causes.
Power Supply Issues
Revisit the basics.
- Is it plugged in? (Yes, we mentioned it again.)
- Is the outlet working?
- Have fuses or breakers tripped?
- Check the power cord: Look for any damage or breaks in the power cord.
Thermal Overload Protector Tripped
Many motors have a built-in safety device called a thermal overload protector. If the motor gets too hot, this device will trip, cutting off power to prevent damage.
- How it works: It’s usually a small button or a reset mechanism located on the motor itself.
- Resetting the Protector:
- UNPLUG THE APPLIANCE!
- Allow the motor to cool down completely. This might take 10-20 minutes or longer.
- Locate the reset button (it’s often red or black and slightly recessed).
- Press the button firmly. You might feel a click.
- Once cooled and reset, try powering the appliance back on.
Internal Fuse (Less Common for DIY)
Some motors have small internal fuses. These are not usually meant for user replacement.
- If you suspect an internal fuse and are comfortable opening the motor: You can test it with a multimeter by checking for continuity. If it’s blown, you’d need to identify the correct replacement fuse rating. However, this often indicates a deeper electrical problem.
Complete Winding Failure
If the windings are severely damaged, the motor will not run at all. This is usually terminal for DIY repair.
If you’re looking to repair an electric motor, understanding the materials involved can be crucial for a successful fix. For instance, knowing the differences between various abrasive grains can help you choose the right tools for cleaning or refurbishing motor components. A related article that delves into this topic is available at which abrasive grain matters, providing insights that can enhance your repair process and ensure optimal performance of your electric motor.
Step 3: Reassembly and Testing
Once you’ve identified and hopefully fixed the problem, it’s time to put everything back together and see if your motor is back in action.
- Reassemble carefully: Ensure all components are properly aligned and secured.
- Double-check all connections: Make sure no wires are pinched or loose.
- Perform a final visual check: Look for anything that seems out of place.
- Test cautiously: Plug in the appliance and turn it on. Listen for any unusual sounds. Observe the motor for smooth operation and check if it’s getting excessively hot.
When to Throw in the Towel
Let’s be realistic. Not every electric motor can be fixed with a trip to the hardware store.
- Severely damaged housing: Cracked casings or melted components usually mean replacement.
- Burned-out windings: Unless you have specialized knowledge and equipment, this is a tough one to fix.
- Sealed units: If the motor is completely sealed and has no visible access points, it’s likely not designed for repair.
- Safety concerns: If you’re unsure at any point, or if dealing with the electrical components makes you uncomfortable, it’s always best to call a qualified technician or consider replacing the unit. The cost of a new motor might be less than the risk of injury.
Fixing an electric motor can be a rewarding DIY project, but it’s essential to approach it with a clear understanding of the potential issues, a focus on safety, and a realistic assessment of your own skills and the motor’s condition. Good luck!
FAQs
1. What are the common issues that can occur with electric motors?
Common issues with electric motors include overheating, bearing failure, electrical connection problems, and worn out brushes or commutators.
2. How can I troubleshoot an electric motor that is not working properly?
You can troubleshoot an electric motor by checking for loose connections, testing the power supply, inspecting the motor for signs of damage, and testing the motor’s components such as the brushes and bearings.
3. What tools are needed to repair an electric motor?
Tools needed to repair an electric motor may include screwdrivers, wrenches, pliers, a multimeter, insulation resistance tester, and lubricants for bearings.
4. What are the steps to repair an electric motor?
The steps to repair an electric motor include diagnosing the issue, disassembling the motor, inspecting and cleaning the components, replacing any damaged parts, reassembling the motor, and testing it to ensure proper function.
5. When should I seek professional help for repairing an electric motor?
You should seek professional help for repairing an electric motor if you are unsure of the issue, if the motor is under warranty, if the repair requires specialized tools or knowledge, or if the motor is used in a critical application where reliability is crucial.