
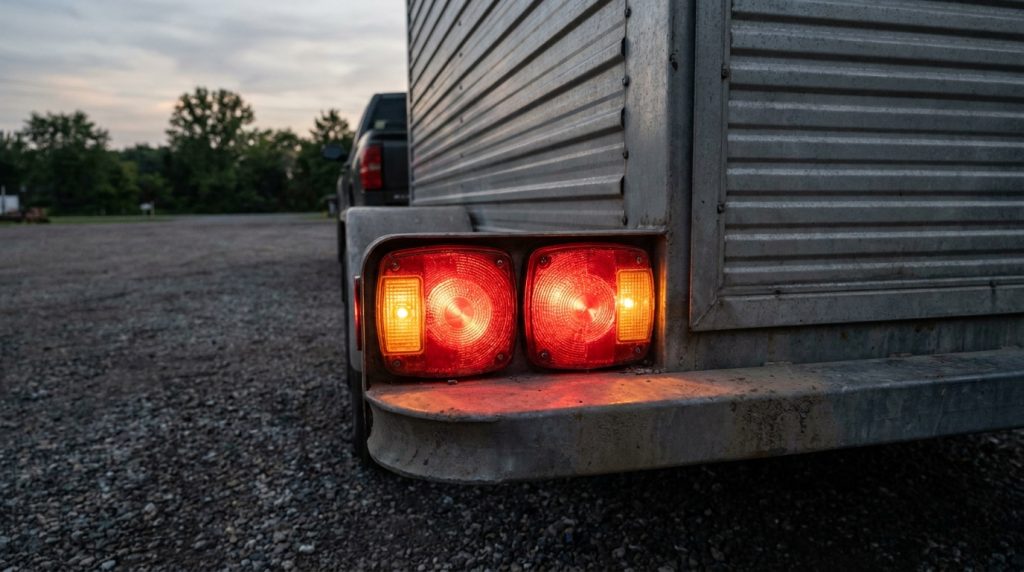
Trailer lights are one of the most important safety features on any trailer. Whether you’re hauling equipment to a job site, towing a boat to the lake, transporting landscaping equipment, or pulling a utility trailer across town, properly functioning trailer lights help other drivers see your intentions and keep everyone safer on the road.
Fortunately, replacing trailer lights is a straightforward DIY project that most trailer owners can complete in under an hour using basic hand tools. Whether you’re replacing a burned-out light, upgrading to LED trailer lights, or installing an entirely new wiring harness, following the proper installation steps will ensure reliable performance for years to come.
This guide covers everything you need to know, including troubleshooting, wiring diagrams, LED upgrades, and common mistakes to avoid.
Why Working Trailer Lights Matter
Trailer lights aren’t just a legal requirement—they’re a critical safety system.
Properly functioning trailer lights allow other motorists to see when you’re:
- Braking
- Turning
- Driving at night
- Backing up
- Traveling in poor weather
Faulty lights increase the risk of rear-end collisions and traffic citations while making your trailer much harder to see after dark.
Before every trip, it’s a good idea to perform a quick walk-around inspection to verify all trailer lights are working correctly.
Signs Your Trailer Lights Need Replacement
Trailer lights don’t always fail completely. Many develop problems gradually.
Common signs include:
- One or more lights won’t turn on
- Brake lights don’t work
- Turn signals flash rapidly or not at all
- Flickering lights
- Water inside the housing
- Cracked lenses
- Corrosion around wiring
- Dim running lights
- Broken mounting brackets
- Loose wiring connections
Sometimes the problem is simply a burned-out bulb. In many cases, replacing the entire light assembly is faster, more reliable, and relatively inexpensive.
Common Types of Trailer Lights
Depending on your trailer, you may need to replace:
- Tail lights
- Brake lights
- Turn signal lights
- Combination stop/turn/tail lights
- Side marker lights
- Clearance lights
- License plate lights
- Reverse lights
- Identification lights
Most newer replacement lights are available in either incandescent or LED versions.
LED vs. Incandescent Trailer Lights
Upgrading to LED trailer lights has become increasingly popular.
| Feature | LED Lights | Incandescent Lights |
|---|---|---|
| Brightness | Excellent | Good |
| Lifespan | 30,000-50,000 hours | 1,000-2,000 hours |
| Power Consumption | Low | Higher |
| Vibration Resistance | Excellent | Moderate |
| Water Resistance | Excellent | Moderate |
| Maintenance | Minimal | Frequent bulb replacement |
LED trailer lights are especially recommended for:
- Boat trailers
- Utility trailers
- Landscape trailers
- Equipment trailers
- Commercial trailers
Although they cost slightly more initially, LEDs typically last much longer and require less maintenance.
Tools You’ll Need
Gather everything before starting.
Recommended tools include:
- Phillips screwdriver
- Flat screwdriver
- Socket set
- Wire strippers
- Wire crimpers
- Multimeter or test light
- Heat shrink connectors
- Electrical tape
- Heat gun
- Zip ties
- Dielectric grease
- Wire brush
- Safety glasses
- Work gloves
If your trailer has extensive corrosion, a small wire brush or abrasive pad will help clean grounding points.
Replacement Parts
Depending on your repair, you may need:
- New trailer lights
- Trailer wiring harness
- Butt connectors
- Ring terminals
- Heat shrink tubing
- Split wire loom
- Mounting hardware
- Self-tapping screws
- Stainless steel hardware
For trailers used outdoors year-round, stainless hardware helps prevent future corrosion.
Understanding Trailer Wiring
The majority of small utility trailers use a standard 4-way flat connector.
Standard wire colors are:
White — Ground
Brown — Running lights
Yellow — Left turn and brake light
Green — Right turn and brake light
Larger trailers may use 5-way, 6-way, or 7-way connectors that support additional functions such as electric brakes and reverse lights.
Always verify wiring before making connections, especially on older trailers where previous repairs may have changed the wire colors.
Step 1: Disconnect the Trailer
Park on level ground.
Chock the wheels if necessary.
Disconnect the trailer connector from the tow vehicle before beginning any electrical work.
This prevents accidental shorts while wiring.
Step 2: Inspect the Existing Lights
Before removing anything, inspect the current installation.
Look for:
- Broken housings
- Water intrusion
- Corroded wiring
- Loose mounting hardware
- Rust
- Broken ground connections
Taking a photo before disassembly makes reconnecting the wiring much easier.
Step 3: Remove the Old Trailer Lights
Remove the mounting screws or bolts.
Pull the light assembly away from the trailer carefully.
If the wiring uses butt connectors, cut them several inches back to leave clean wire for reconnecting.
If corrosion has traveled into the wiring, continue trimming until clean copper is exposed.
Step 4: Prepare the Wiring
Strip approximately 3/8 inch of insulation from each wire.
Inspect the copper.
Healthy wire should appear bright and clean.
Dark, brittle, or green wire should be trimmed back further.
Slide heat shrink tubing onto the wire before making connections.
Step 5: Connect the New Trailer Lights
Match wires according to their function.
Typical wiring:
White → Ground
Brown → Tail/running lights
Yellow → Left turn/brake
Green → Right turn/brake
Use marine-grade heat shrink butt connectors whenever possible.
They create a weather-resistant seal that lasts significantly longer than standard crimp connectors.
Step 6: Verify the Ground Connection
A poor ground is the number one cause of trailer lighting problems.
Clean the mounting location until bare metal is exposed.
Use:
- Wire brush
- Sandpaper
- Scotch-Brite pad
Secure the ground wire tightly.
Apply dielectric grease afterward to help prevent corrosion.
Many “bad lights” are actually bad grounds.
Step 7: Mount the New Light Assembly
Position the light correctly.
Install mounting hardware evenly.
Avoid overtightening plastic housings.
If installing waterproof LED lights, verify the gasket seals evenly around the housing.
Step 8: Test Every Function
Reconnect the trailer.
Check:
- Running lights
- Brake lights
- Left turn signal
- Right turn signal
- Hazard lights
- Side marker lights
- License plate light
Having another person operate the vehicle controls makes testing much easier.
If you’re working alone, a reflective garage door or smartphone camera can help verify operation.
Troubleshooting Common Trailer Light Problems
Lights Don’t Work at All
Check:
- Trailer plug
- Vehicle fuse
- Ground wire
- Connector corrosion
- Battery voltage
- Wiring harness
One Side Doesn’t Work
Inspect:
- Green or yellow wire
- Broken connector
- Ground
- Damaged light assembly
Lights Flicker
Usually caused by:
- Poor ground
- Loose connector
- Corrosion
- Damaged plug
Brake Lights Work But Running Lights Don’t
Possible causes include:
- Brown wire disconnected
- Running light fuse
- Vehicle wiring issue
- Corroded connector
LED Lights Won’t Illuminate
Check:
- Polarity
- Ground
- Connector wiring
- Voltage
LED lights are polarity-sensitive, unlike traditional incandescent bulbs.
Waterproof Trailer Lights
Boat trailers require special consideration.
Choose fully sealed, submersible LED trailer lights designed for repeated water exposure.
Although modern LED lights are waterproof, unplugging the trailer connector before backing into water is still considered good practice.
Protect the Wiring
After installation:
- Secure wiring with zip ties.
- Keep wires away from moving suspension parts.
- Protect wiring with split loom.
- Avoid sharp edges.
- Apply dielectric grease to exposed connectors.
Proper wire routing prevents future failures.
Maintenance Tips
Before every trip:
- Test all lights.
- Inspect the trailer plug.
- Look for damaged wiring.
- Verify mounting hardware is tight.
- Check for moisture inside housings.
Every few months:
- Clean connectors.
- Reapply dielectric grease.
- Inspect grounds.
- Replace cracked lenses.
- Tighten mounting hardware.
Routine maintenance significantly extends the life of your lighting system.
Common Mistakes to Avoid
Replacing only the bulb when the housing is full of water
Ignoring a weak ground connection
Using household wire connectors
Skipping heat shrink tubing
Leaving wiring unsupported
Using undersized replacement lights
Installing the wrong side light
Not testing before driving
Failing to protect connectors from corrosion
Related Articles
To keep your trailer and equipment operating safely, check out these additional guides from CEM Industrial Supply:
- How to Build a Rolling Tool Cart
- How to Install Concrete Anchors
- Hammer Drill vs. Rotary Hammer: Concrete Drilling Explained
- Choosing the Right Drill Bit for Every Job
- Essential PPE for Construction and Industrial Work
Frequently Asked Questions
Can I replace trailer lights myself?
Yes. Most trailer light replacements require only basic hand tools and can be completed in less than an hour.
Should I upgrade to LED trailer lights?
For most trailers, yes. LED lights are brighter, last much longer, consume less power, and resist vibration better than incandescent lights.
Why do my trailer lights keep blowing fuses?
Common causes include damaged wiring, short circuits, water intrusion, or pinched wires.
Why do my trailer lights flicker?
Flickering lights usually indicate a poor ground connection or loose wiring.
How do I know if my trailer ground is bad?
Common symptoms include dim lights, intermittent operation, brake lights affecting turn signals, or lights working only occasionally.
Should I replace both trailer lights at the same time?
If one light has failed due to age or water intrusion, replacing both assemblies is often worthwhile to ensure even brightness and long-term reliability.
Keep Your Trailer Safe and Visible
Replacing trailer lights is one of the simplest maintenance projects you can perform, yet it has a significant impact on towing safety. By using quality replacement parts, weather-resistant electrical connections, and proper installation techniques, you can reduce the likelihood of future electrical issues and stay compliant with state lighting requirements.
Whether you’re towing a utility trailer, boat trailer, enclosed cargo trailer, or equipment trailer, CEM Industrial Supply offers the tools, electrical supplies, fasteners, safety equipment, and maintenance products to help you complete the job correctly.