
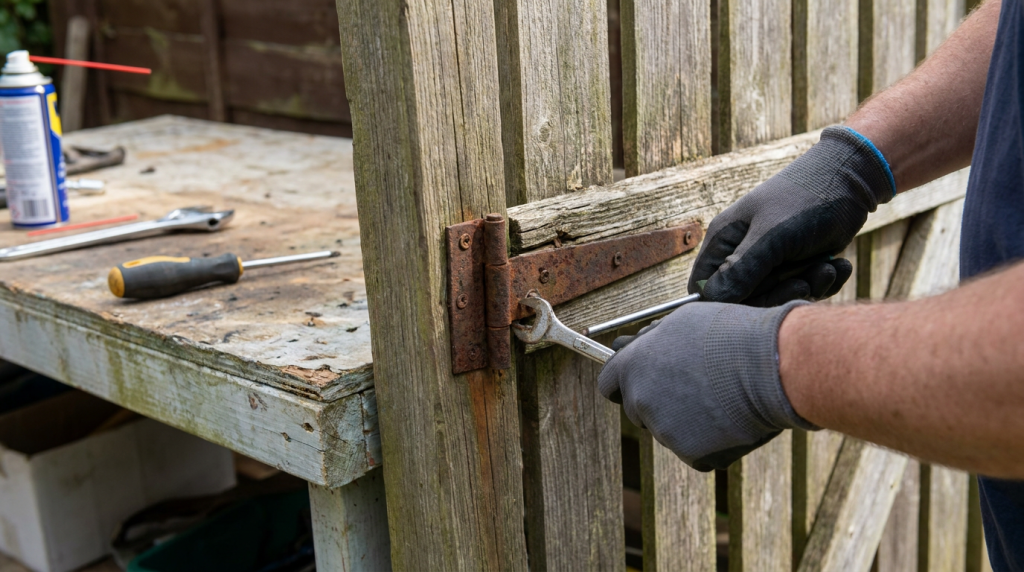
A broken gate hinge can quickly turn a functional gate into a daily frustration. Whether your gate drags on the ground, refuses to latch, squeaks loudly, or leans to one side, the problem is often easier to fix than you might think. In many cases, repairing or replacing a gate hinge requires only a few basic tools and an hour or two of work.
This guide explains how to diagnose common gate hinge problems, repair loose or damaged hinges, replace worn hardware, and prevent future issues so your gate operates smoothly for years to come.
Why Gate Hinges Fail
Gate hinges support the entire weight of the gate every time it opens and closes. Over time, exposure to weather, heavy use, and normal wear can cause hinges to loosen or fail.
Common causes include:
- Rust and corrosion
- Loose mounting screws
- Worn hinge pins
- Bent hinges
- Rotting wooden posts
- Warped gates
- Poor installation
- Gates that are too heavy for the existing hinges
- Wind damage
- Impact from vehicles or equipment
Understanding the root cause helps ensure you make the correct repair rather than treating only the symptoms.
Signs Your Gate Hinge Needs Repair
Watch for these common warning signs:
- Gate drags on the ground
- Gate won’t latch properly
- Gate sags on the latch side
- Hinge squeaks loudly
- Loose or missing screws
- Visible rust
- Bent hinge straps
- Cracked welds
- Gate binds when opening
- Fence post movement
Addressing these issues early can prevent more expensive repairs later.
Tools You’ll Need
Depending on the repair, gather:
- Cordless drill
- Screwdrivers
- Socket set
- Adjustable wrench
- Hammer
- Pry bar
- Tape measure
- Carpenter’s level
- Clamps
- Wood glue
- Exterior wood filler
- Replacement screws
- Lag screws
- Through bolts
- Replacement hinges
- Wire brush
- Penetrating oil
- Silicone or lithium lubricant
- Safety glasses
- Work gloves
If you’re drilling into masonry fence posts, our guide on How to Install Concrete Anchors can help you select the proper fasteners.
Choosing the Right Replacement Hinge
Different gates require different hinge styles.
Common hinge types include:
- T-hinges
- Strap hinges
- Heavy-duty strap hinges
- Butt hinges
- Barrel hinges
- Adjustable hinges
- Weld-on hinges
- Bolt-on hinges
- Self-closing hinges
- Spring hinges
When replacing a hinge, choose one with an equal or greater weight rating than the original.
Galvanized or stainless-steel hinges generally provide the best corrosion resistance for outdoor use.
Step 1: Support the Gate
Before removing any hardware, support the gate.
Use:
- Wooden blocks
- Jack stands
- A helper
- Floor jack (for heavy gates)
Removing a hinge without supporting the gate can cause sudden movement or damage.
Step 2: Inspect the Entire Gate
Before replacing anything, examine:
- Gate frame
- Fence post
- Hinge screws
- Hinge plates
- Latch
- Wood condition
- Metal condition
Sometimes the hinge isn’t actually the problem.
A leaning fence post or warped gate can produce the same symptoms.
Step 3: Tighten Loose Hardware
Many gate problems are simply loose screws.
Remove each screw individually.
Inspect it.
Replace damaged screws with longer exterior-grade screws.
For heavy gates, upgrading to lag screws or through bolts often provides a much stronger repair.
Step 4: Repair Stripped Screw Holes
If screws no longer grip:
Small holes:
- Fill with glued hardwood toothpicks or dowels.
- Allow glue to dry.
- Drill a pilot hole.
- Reinstall the screw.
Larger holes:
- Use exterior epoxy or structural wood filler.
- Allow full cure before reinstalling hardware.
This repair often restores the original strength of the connection.
Step 5: Replace the Broken Hinge
If the hinge itself is damaged:
Remove:
- Screws
- Bolts
- Pins
Clean the mounting surface.
Position the new hinge.
Mark hole locations.
Drill pilot holes.
Install new hardware.
Check alignment before fully tightening.
Step 6: Align the Gate
Improper alignment is one of the most common causes of recurring hinge problems.
Use a level to verify:
- Gate is plumb
- Gap is even
- Latch lines up
- Gate swings freely
Minor adjustments now can prevent years of frustration.
Step 7: Lubricate Moving Parts
Apply lubricant to:
- Hinge pins
- Pivot points
- Moving joints
Good choices include:
- Silicone spray
- White lithium grease
- Dry-film lubricant
Avoid using motor oil, which tends to collect dirt and dust.
Repairing a Sagging Gate
If the latch side droops:
Inspect the top hinge first.
Most of the gate’s weight is carried by the upper hinge.
Possible solutions include:
- Tightening screws
- Installing longer fasteners
- Replacing the hinge
- Adding a third hinge
- Installing a gate anti-sag kit
- Replacing damaged posts
For wooden gates, adjustable anti-sag cable kits often restore proper alignment quickly.
Repairing Wooden Gates
Common issues include:
- Rot
- Split wood
- Loose screws
- Weather damage
Repair options:
- Replace damaged boards
- Fill minor rot
- Reinforce weak framing
- Replace severely damaged posts
Always use exterior-rated hardware and fasteners.
Repairing Metal Gates
Metal gates often experience:
- Rust
- Broken welds
- Bent hinges
- Corrosion
Repairs may involve:
- Wire brushing
- Rust converter
- Replacement hinges
- Welding
- Repainting
If structural welds have failed, professional welding may be required.
Farm Gate Repairs
Farm gates typically use adjustable hinge pins.
Check:
- Hinge pins
- Gate post alignment
- Bolt tightness
- Grease points
Lubricating adjustable hinges regularly helps prevent premature wear.
Prevent Future Hinge Problems
Regular maintenance greatly extends hinge life.
Every few months:
- Tighten hardware
- Lubricate hinges
- Inspect posts
- Remove rust
- Check alignment
- Replace worn fasteners
- Touch up damaged paint
A few minutes of maintenance can prevent major repairs.
Common Mistakes to Avoid
Using indoor hinges outdoors
Installing undersized hinges
Ignoring rotten fence posts
Overtightening screws
Skipping pilot holes
Failing to support the gate during repairs
Using drywall screws outdoors
Ignoring hinge alignment
Waiting until complete hinge failure
When to Call a Professional
Consider professional help if:
- The gate weighs several hundred pounds.
- Welded hinges require replacement.
- Automatic gate operators are involved.
- The fence post has failed structurally.
- Concrete footings require replacement.
- Extensive welding is necessary.
Large driveway gates can be dangerous without proper lifting equipment.
Related Articles
Continue improving your property with these helpful guides:
- Build Heavy-Duty Shop Shelves
- Build a Rolling Tool Cart
- How to Replace Trailer Lights
- How to Install Concrete Anchors
- Essential PPE for Construction and Industrial Work
Frequently Asked Questions
Can I repair a gate hinge instead of replacing it?
Yes. Loose hardware, stripped screw holes, and minor rust can often be repaired without replacing the entire hinge.
Why does my gate keep sagging?
The most common causes are loose top hinges, undersized hardware, damaged fence posts, or warped gate frames.
What is the best hinge for a heavy wooden gate?
Heavy-duty galvanized or stainless-steel strap hinges provide excellent support for most wooden gates.
Should I replace both hinges?
If one hinge has failed due to age or corrosion, replacing both often ensures even wear and longer service life.
How often should gate hinges be lubricated?
Most exterior gate hinges benefit from lubrication two or three times per year, or more frequently in coastal or high-moisture environments.
Restore Smooth, Reliable Gate Operation
Repairing a broken gate hinge is a manageable DIY project that improves both the appearance and functionality of your property. With the right hardware, proper alignment, and routine maintenance, your gate can provide years of dependable service.
Whether you’re repairing a garden gate, privacy fence, livestock gate, or commercial entrance, CEM Industrial Supply offers the tools, fasteners, lubricants, safety equipment, and maintenance supplies you need to complete the job with confidence.