
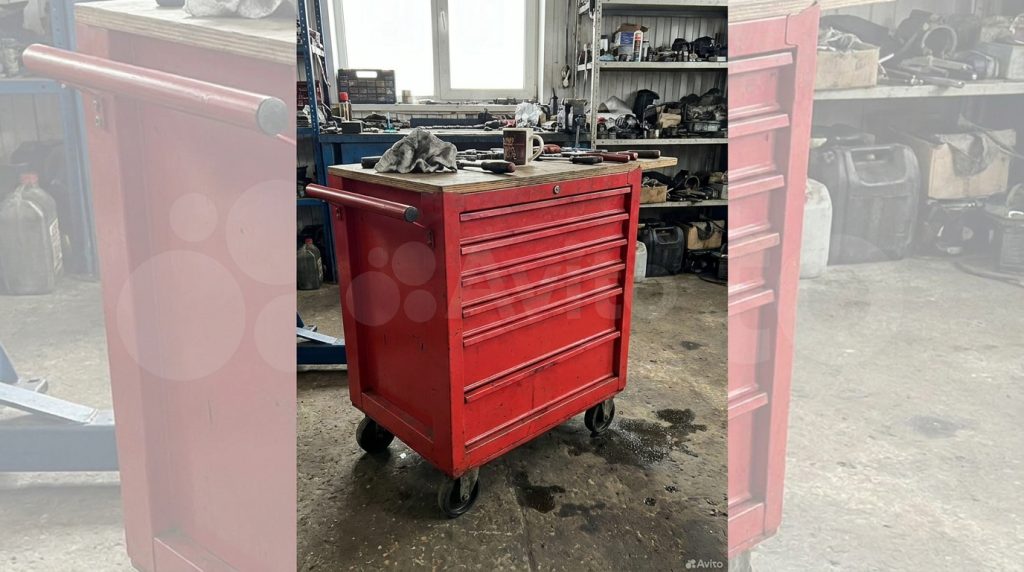
A rolling tool cart is one of the most useful additions you can make to a garage, workshop, maintenance department, or job site. Whether you’re a contractor, mechanic, woodworker, maintenance technician, or DIY enthusiast, a well-built tool cart keeps your most-used tools organized, protected, and easy to move wherever the job takes you.
Building your own rolling tool cart is also surprisingly affordable. Instead of purchasing a pre-built cart that may not fit your workflow, you can customize the size, storage, shelving, and accessories to match your exact needs.
This guide will walk you through every step of building a durable rolling tool cart using readily available materials and basic woodworking tools.
Why Build Your Own Rolling Tool Cart?
While there are plenty of commercial tool carts available, building one yourself offers several advantages.
Benefits include:
- Custom dimensions for your workspace
- More storage than many store-bought carts
- Stronger construction
- Lower overall cost
- Ability to add shelves, drawers, pegboard, or power strips
- Easier organization
- Simple future modifications
Whether you’re organizing power tools, hand tools, fasteners, or maintenance supplies, a rolling cart helps eliminate wasted time searching for equipment.
Planning Your Tool Cart
Before cutting lumber, spend a few minutes planning the cart.
Ask yourself:
- What tools will it hold?
- Will it stay in one workshop or travel around the building?
- Do you need drawers?
- Would open shelving work better?
- Will you store heavy power tools?
- Should it fit underneath a workbench?
Planning ahead makes construction easier and prevents costly mistakes later.
Recommended Size
A versatile size for most workshops is:
Width: 36 inches
Depth: 20 inches
Height: 36 inches (including casters)
This size provides plenty of storage while remaining easy to maneuver through standard doorways.
If you’re working in a smaller garage, consider reducing the width to 30 inches.
Materials You’ll Need
For a basic three-shelf rolling tool cart you’ll need:
- One sheet 3/4-inch cabinet-grade plywood
- Four 2×4 boards (or 2×2 lumber for lighter-duty carts)
- 2-1/2-inch wood screws
- 1-1/4-inch wood screws
- Wood glue
- Four heavy-duty locking swivel casters
- Sandpaper
- Wood filler (optional)
- Paint, stain, or polyurethane
- Side handle
- Optional pegboard
- Optional magnetic tool holders
- Optional hooks or bins
Recommended Tools
You’ll need:
- Circular saw or table saw
- Miter saw
- Drill/driver
- Tape measure
- Carpenter’s square
- Clamps
- Orbital sander
- Pencil
- Level
- Safety glasses
- Hearing protection
If you’re drilling into masonry to secure shelving or workshop accessories, our guide on Hammer Drill vs. Rotary Hammer: Concrete Drilling Explained can help you choose the right tool.
Choosing the Right Casters
The wheels determine how useful your cart will be.
Many DIY builders underestimate the total weight once the cart is loaded with tools.
Choose casters based on the fully loaded weight—not just the empty cart.
General recommendations:
Light-duty carts
75–100 lb per caster
General workshop carts
150–250 lb per caster
Mechanic or industrial carts
300+ lb per caster
Whenever possible, choose locking swivel casters.
Four locking casters provide maximum stability while working.
Cutting the Lumber
Cut your plywood into three identical shelves.
Example dimensions:
36 inches wide
20 inches deep
Cut four legs from your 2×4 lumber.
If using 4-inch casters and you want a finished height of 36 inches:
Leg length:
32 inches
Next, cut the frame pieces.
Each shelf frame will require:
Two long rails
Two short rails
Repeat for all three shelves.
Build the Shelf Frames
Assemble each rectangular frame using wood glue and screws.
Check every corner with a carpenter’s square before driving screws.
A square frame makes the remainder of the build much easier.
Once assembled, attach each plywood shelf to its frame using 1-1/4-inch wood screws.
Avoid overdriving screws into plywood.
Assemble the Cart
Stand two legs upright.
Attach the bottom shelf approximately 4 to 6 inches above the floor.
Install the opposite legs.
Next install the middle shelf.
Finally install the top shelf.
Check for square after installing each shelf.
If the cart racks slightly, loosen screws, square the frame, then retighten.
Professional woodworkers continually check for square during assembly rather than waiting until the project is finished.
Reinforce the Structure
If your cart will carry heavy equipment, reinforcement is highly recommended.
Options include:
- Corner braces
- Steel angle brackets
- Additional blocking
- Cross bracing
- Extra screws at each joint
Heavy-duty carts often benefit from a full lower frame that supports the caster plates directly rather than attaching wheels only to the legs.
Install the Casters
Turn the cart upside down.
Position one caster at each corner.
Mark all mounting holes.
Drill pilot holes before installing screws or lag bolts.
After mounting all four wheels:
Flip the cart upright.
Test the locks.
Roll the cart over several surfaces.
Verify it tracks smoothly without wobbling.
Add a Push Handle
A side-mounted handle makes moving the cart much easier.
Good handle options include:
- Steel shop handles
- Hardwood dowels
- Black iron pipe
- Stainless tubing
Mount the handle securely into framing—not just plywood.
Sand Every Surface
Before finishing:
Round sharp corners.
Remove splinters.
Fill screw holes if desired.
Sand progressively:
80 grit
120 grit
180 grit
Smooth edges reduce the chance of splinters while giving the project a professional appearance.
Apply a Durable Finish
Workshop carts take abuse.
Protect the wood with a durable finish.
Popular choices include:
Clear polyurethane
Oil-based enamel
Cabinet paint
Industrial epoxy paint
Wood stain followed by polyurethane
Allow each coat to dry completely before applying the next.
Customize Your Tool Cart
One of the biggest advantages of building your own cart is customization.
Popular upgrades include:
Pegboard Storage
Attach pegboard to one or both ends.
Great for:
- Screwdrivers
- Pliers
- Adjustable wrenches
- Measuring tapes
- Utility knives
Magnetic Tool Holders
Magnetic strips keep frequently used tools within easy reach.
Ideal for:
- Wrenches
- Hex keys
- Screwdrivers
- Utility blades
Power Strip
Mount a surge-protected power strip to the side of the cart for:
- Battery chargers
- Corded drills
- Sanders
- Grinders
Secure the power cord using cable clips to reduce trip hazards.
Drawer Units
Shallow drawers work well for:
- Drill bits
- Fasteners
- Electrical connectors
- Measuring tools
- Layout tools
Small Parts Bins
Plastic bins make organizing hardware much easier.
Separate:
- Screws
- Washers
- Nuts
- Anchors
- Bolts
- Wire connectors
Label each container for faster access.
Organizing Your Tool Cart
An organized cart saves time on every project.
A common layout is:
Top Shelf
Frequently used hand tools
Middle Shelf
Cordless tools
Chargers
Batteries
Bottom Shelf
Heavier equipment
Fastener boxes
Power tool cases
Hooks
Extension cords
Air hoses
Tape measures
Keep the tools you use most within easy reach.
Safety Tips
Always wear:
- Safety glasses
- Hearing protection
- Dust mask when sanding
- Work gloves when handling rough lumber
Clamp lumber securely before cutting.
Never reach underneath spinning saw blades.
Disconnect power tools before changing blades or bits.
If your workshop includes concrete walls or floors, be sure to use the correct fasteners when mounting accessories. Read our guide on How to Install Concrete Anchors for step-by-step instructions.
Common Mistakes to Avoid
Using undersized casters
Small wheels struggle under heavy loads.
Skipping pilot holes
Pilot holes reduce splitting and improve screw alignment.
Using construction-grade warped lumber
Straight lumber produces a straighter, more stable cart.
Ignoring weight distribution
Store heavier tools on the bottom shelf to improve stability.
Overloading shelves
Know the weight capacity of your materials and hardware.
Skipping reinforcement
Extra bracing dramatically increases long-term durability.
Maintenance Tips
Every few months:
- Tighten loose screws.
- Inspect caster bolts.
- Lubricate wheel bearings if needed.
- Clean sawdust from the wheels.
- Touch up worn finish.
- Replace damaged casters immediately.
Routine maintenance keeps your cart rolling smoothly for years.
Frequently Asked Questions
What wood is best for a rolling tool cart?
Cabinet-grade plywood combined with 2×4 or hardwood framing provides excellent strength and durability.
How much weight can a DIY tool cart hold?
A properly built cart using 3/4-inch plywood, reinforced framing, and quality casters can often support several hundred pounds. Always verify the weight rating of your casters and hardware.
Should all four wheels lock?
Yes. Four locking swivel casters provide the greatest stability while working.
Can I add drawers later?
Absolutely. One advantage of a custom-built cart is the ability to add drawers, shelves, pegboard, lighting, or power outlets as your needs change.
Is it cheaper to build or buy a rolling tool cart?
In many cases, yes. Building your own often costs less than purchasing a heavy-duty commercial cart while allowing complete customization.
Build a Tool Cart That Works for You
A rolling tool cart is more than just a storage solution—it’s an investment in efficiency, organization, and productivity. By designing the cart around the way you work, you’ll spend less time searching for tools and more time completing projects.
Whether you’re outfitting a professional workshop, organizing a maintenance department, or upgrading your home garage, a sturdy rolling tool cart can become one of the most valuable pieces of equipment you own.
If you’re looking for quality fasteners, power tools, drill bits, safety equipment, casters, adhesives, and workshop supplies, CEM Industrial Supply offers the professional-grade products you need to build with confidence.