
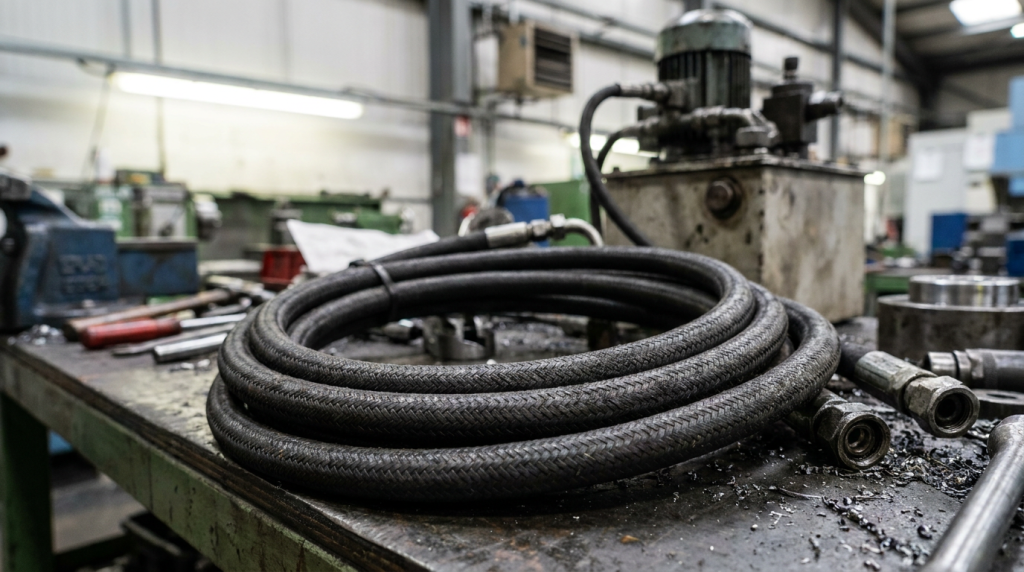
Hydraulic hoses are critical components in construction equipment, agricultural machinery, industrial systems, forklifts, skid steers, excavators, loaders, and manufacturing equipment. These hoses carry pressurized hydraulic fluid that powers cylinders, motors, and other components responsible for lifting, steering, clamping, and moving heavy loads.
A damaged hydraulic hose should never be ignored. Even a small leak can quickly become a serious safety hazard, resulting in equipment downtime, expensive repairs, environmental contamination, or personal injury. Fortunately, replacing a hydraulic hose is a straightforward maintenance task when performed correctly and with proper safety precautions.
This guide explains how to safely replace a hydraulic hose, select the correct replacement, and avoid the most common installation mistakes.
What Does a Hydraulic Hose Do?
A hydraulic hose transfers pressurized hydraulic fluid between system components.
Hydraulic hoses are commonly found on:
- Excavators
- Skid steers
- Forklifts
- Backhoes
- Wheel loaders
- Agricultural tractors
- Log splitters
- Hydraulic presses
- Industrial machinery
- Manufacturing equipment
Because many hydraulic systems operate at pressures exceeding 3,000 PSI—and some well beyond 5,000 PSI—a failed hose can create an extremely dangerous situation.
Signs a Hydraulic Hose Needs Replacement
Inspect hydraulic hoses regularly for signs of wear.
Common warning signs include:
- Hydraulic fluid leaks
- Cracked outer cover
- Abrasion or rubbing
- Exposed wire reinforcement
- Bulges or blisters
- Kinks
- Loose fittings
- Corrosion
- Flattened hose sections
- Hydraulic pressure loss
- Slow cylinder movement
- Jerky machine operation
If any of these conditions are present, replace the hose before it fails completely.
Hydraulic Hose Safety
Hydraulic systems store enormous amounts of energy.
Before working on any hydraulic equipment:
- Shut off the machine.
- Lower all raised attachments.
- Remove the ignition key.
- Follow lockout/tagout procedures when required.
- Relieve hydraulic pressure.
- Wear safety glasses.
- Wear heavy work gloves.
- Keep absorbent materials nearby for spills.
Never use your hand to check for a hydraulic leak.
High-pressure hydraulic fluid can penetrate the skin and requires immediate emergency medical treatment.
Instead, use a piece of cardboard or wood to locate leaks safely.
Tools You’ll Need
Gather the proper tools before beginning.
Recommended tools include:
- Open-end wrench set
- Flare nut wrenches
- Adjustable wrench
- Socket set
- Torque wrench
- Shop towels
- Drain pan
- Hydraulic caps and plugs
- Flashlight
- Safety glasses
- Nitrile or mechanic’s gloves
- Cleaning solvent
- Zip ties or clamps (if needed)
Having replacement O-rings or seals on hand is also helpful for many hydraulic systems.
Choosing the Correct Replacement Hose
Never choose a hydraulic hose based solely on appearance.
The replacement hose must match:
- Inside diameter
- Working pressure
- Burst pressure
- Length
- Fitting type
- Thread style
- Fitting angle
- Fluid compatibility
- Temperature rating
- Minimum bend radius
If you’re unsure, take the old hose to a hydraulic hose supplier for identification.
Common Hydraulic Hose Types
Depending on your application, you may encounter:
- Wire braided hoses
- Spiral wire hoses
- Thermoplastic hoses
- Textile braided hoses
- High-pressure hoses
- Low-pressure return hoses
Industrial hydraulic suppliers can help identify the proper replacement if markings are unreadable.
Step 1: Park and Secure the Equipment
Before beginning:
- Park on level ground.
- Lower all hydraulic attachments.
- Set the parking brake.
- Shut off the engine.
- Remove the key.
- Relieve hydraulic pressure.
Never rely on hydraulic cylinders alone to support raised equipment.
Step 2: Locate the Damaged Hose
Identify the failed hose.
Inspect for:
- Wet fittings
- Oil spray
- Cracked rubber
- Abrasion
- Kinks
- Broken reinforcement
Take photos before disassembly.
This makes routing the replacement hose much easier.
Step 3: Clean Around the Fittings
Hydraulic systems are highly sensitive to contamination.
Before disconnecting anything:
- Wipe fittings clean.
- Remove dirt.
- Remove grease.
- Clean surrounding components.
Preventing contamination greatly extends hydraulic component life.
Step 4: Disconnect the Old Hose
Place a drain pan underneath.
Loosen fittings carefully using the correct wrench.
If necessary:
- Hold adapters with a backup wrench.
- Loosen slowly.
- Watch for remaining pressure.
Once disconnected:
Immediately install protective caps or plugs on open ports.
This minimizes contamination and fluid loss.
Step 5: Compare the New Hose
Before installation verify:
- Length matches
- Diameter matches
- Pressure rating meets or exceeds requirements
- Fittings match exactly
- Bend angles match
- Thread type matches
Never force mismatched hydraulic fittings together.
Step 6: Install the New Hose
Route the hose carefully.
Avoid:
- Twisting
- Kinking
- Sharp bends
- Contact with hot surfaces
- Contact with moving components
- Abrasion against metal edges
Start fittings by hand to prevent cross-threading.
Finish tightening using manufacturer torque specifications whenever available.
Step 7: Refill Hydraulic Fluid
Some fluid loss is normal.
After installation:
Check the hydraulic reservoir.
Add the correct hydraulic fluid if necessary.
Never mix incompatible hydraulic fluids.
Refer to the equipment manual for the proper fluid specification.
Step 8: Test the System
Start the machine.
Operate hydraulic controls slowly.
Watch carefully for:
- Leaks
- Hose movement
- Twisting
- Contact with nearby components
- Pressure loss
Inspect all fittings.
If a leak is found:
- Shut down the machine.
- Relieve pressure.
- Tighten or repair the connection.
- Test again.
Common Installation Mistakes
Avoid these common errors:
Installing the wrong hose
Using incorrect fittings
Ignoring hose twist
Allowing hoses to rub against metal
Over-tightening fittings
Failing to relieve pressure
Leaving contamination inside the system
Using undersized pressure ratings
Skipping final leak inspection
Most premature hose failures result from improper installation rather than defective hoses.
Prevent Future Hose Failures
Routine inspections help identify problems before failure occurs.
Inspect hoses for:
- Abrasion
- Heat damage
- Cracking
- UV deterioration
- Loose clamps
- Corrosion
- Oil leaks
- Broken protective sleeves
Replace damaged hose guards and clamps promptly.
Proper routing dramatically increases hose life.
Hydraulic Hose Maintenance Tips
Good preventive maintenance includes:
- Inspect hoses during every service interval.
- Keep hydraulic fluid clean.
- Replace hydraulic filters regularly.
- Prevent hoses from rubbing.
- Tighten loose clamps.
- Replace worn protective sleeves.
- Check fittings for leaks.
- Record hose replacement dates.
Many industrial facilities replace hoses proactively based on age and operating hours to reduce unexpected downtime.
When to Call a Professional
Some hydraulic systems require specialized service.
Consider professional assistance if:
- The system operates at extremely high pressure.
- Hose routing is difficult to access.
- Specialized fittings are required.
- Repeated hose failures occur.
- Major hydraulic components must be removed.
- Hydraulic contamination is suspected.
Mobile hydraulic service providers can often fabricate replacement hoses on-site, minimizing equipment downtime.
Related Articles
Continue improving your equipment maintenance with these helpful guides:
- How to Replace Trailer Lights
- Build Heavy-Duty Shop Shelves
- Repair a Broken Gate Hinge
- Winterize Outdoor Equipment
- Essential PPE for Construction and Industrial Work
Frequently Asked Questions
Can I replace a hydraulic hose myself?
Yes, provided you understand hydraulic safety, use the correct replacement hose, relieve system pressure properly, and follow the equipment manufacturer’s service procedures.
How do I know which hydraulic hose to buy?
Match the original hose’s inside diameter, working pressure, fittings, thread type, length, temperature rating, and fluid compatibility.
Why is my new hydraulic hose leaking?
Common causes include loose fittings, damaged seals, incorrect fittings, contamination, or improper installation.
How often should hydraulic hoses be inspected?
Inspect hydraulic hoses before each use on frequently operated equipment and during every scheduled maintenance interval.
Can a hydraulic hose be repaired?
Most damaged hydraulic hoses should be replaced rather than repaired. Temporary repairs are generally not recommended for high-pressure hydraulic systems due to the potential safety risks.
Keep Your Hydraulic Equipment Running Safely
Replacing a hydraulic hose is an essential maintenance task that helps keep construction equipment, agricultural machinery, industrial systems, and hydraulic-powered tools operating safely and efficiently. Using the correct replacement hose, following proper installation procedures, and performing regular inspections can significantly reduce downtime while extending the life of your hydraulic system.
Whether you’re maintaining heavy equipment, manufacturing machinery, forklifts, or agricultural equipment, CEM Industrial Supply offers the hydraulic components, fittings, industrial supplies, safety equipment, and maintenance products you need to keep your operation running smoothly.